How to Create a Login Page in HTML: A Step-by-Step Guide
Introduction : Creating a login page is one of the fundamental tasks for web developers, especially when building a website or web application that requires user authentication. A login page allows users to access a restricted area or dashboard after verifying their identity using a username and password. In this article, we will guide you through creating a simple and responsive login page using HTML and basic CSS.
What is a Login Page?
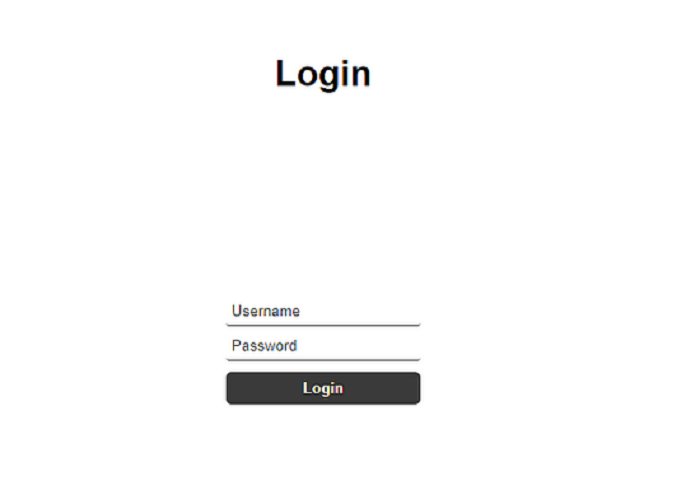
A login page is a web form where users input their username and password to gain access to a website or web application. Typically, it consists of fields for entering the credentials, a submit button, and sometimes a “Forgot Password” link.
Steps to Create a Login Page in HTML
Below are the steps and the code to create a simple yet functional login page using just HTML and CSS.
Step 1: Basic HTML Structure
Start by setting up the basic HTML structure. You need to define the DOCTYPE, the HTML tag, and the body where the content will be placed.
<!DOCTYPE html>
<html lang="en">
<head>
<meta charset="UTF-8">
<meta name="viewport" content="width=device-width, initial-scale=1.0">
<title>Login Page</title>
<style>
/* Add CSS for styling later */
</style>
</head>
<body>
<h2>Login Page</h2>
<form action="/submit-login" method="POST">
<div class="container">
<label for="uname"><b>Username</b></label>
<input type="text" placeholder="Enter Username" name="uname" required>
<label for="psw"><b>Password</b></label>
<input type="password" placeholder="Enter Password" name="psw" required>
<button type="submit">Login</button>
</div>
<div class="container">
<button type="button" class="cancelbtn">Cancel</button>
<span class="psw">Forgot <a href="#">password?</a></span>
</div>
</form>
</body>
</html>
Step 2: Adding Basic Styles with CSS
To make the login page visually appealing and responsive, you can add some simple CSS. We'll center the login form on the page and style the input fields and buttons.
body {
font-family: Arial, sans-serif;
background-color: #f2f2f2;
margin: 0;
padding: 0;
}
h2 {
text-align: center;
margin-top: 50px;
}
form {
width: 300px;
margin: 0 auto;
padding: 16px;
background-color: white;
border-radius: 8px;
box-shadow: 0 0 10px rgba(0, 0, 0, 0.1);
}
input[type=text], input[type=password] {
width: 100%;
padding: 12px 20px;
margin: 8px 0;
display: inline-block;
border: 1px solid #ccc;
border-radius: 4px;
box-sizing: border-box;
}
button {
width: 100%;
background-color: #4CAF50;
color: white;
padding: 14px 20px;
margin: 8px 0;
border: none;
border-radius: 4px;
cursor: pointer;
}
button:hover {
background-color: #45a049;
}
.cancelbtn {
background-color: red;
}
.psw {
float: right;
}
.container {
padding: 16px;
}
Step 3: Understanding the Code
-
Form Element: The form element wraps the login form. We use the
actionattribute to specify the URL where the form data will be submitted (you can change/submit-loginto your actual server endpoint). Themethodattribute specifies that this is a POST request. -
Input Fields: We have two input fields, one for the username and one for the password. Both fields are required, as denoted by the
requiredattribute. -
Buttons: There are two buttons—a "Login" button that submits the form and a "Cancel" button that doesn't submit any data.
-
CSS Styling: We style the form to make it more user-friendly. The CSS includes padding, background color, button styles, and hover effects to improve user interaction.
Step 4: Making It Responsive
To ensure your login page works well on different devices, you can add media queries. For example:
@media screen and (max-width: 600px) {
form {
width: 100%;
margin: 0;
padding: 10px;
}
}
This media query ensures that the form takes up 100% of the width on screens smaller than 600px, making it responsive.
Step 5: Adding Form Validation (Optional)
While this basic form doesn't include form validation, you can add JavaScript or HTML5-based validation to ensure users provide the right inputs. For example, HTML5 provides an easy way to add email validation:
<input type="email" placeholder="Enter Email" name="email" required>
Conclusion
Creating a login page in HTML is a simple and essential task for many web developers. With just a few lines of HTML and CSS, you can create a functional and aesthetically pleasing login page. You can further enhance the login page by integrating server-side languages (like PHP, Node.js) to authenticate users, adding JavaScript for form validation, or incorporating advanced styling with frameworks like Bootstrap.
If you want to apply PAN card, apply through this link https://pancardonlineindia.com/
What's Your Reaction?